Managing your ChurchBox Roles & Permissions
This is an advanced tutorial. If you still feel unclear after reading, don't worry. You can contact us by phone or email and we can set up additional roles for you.
ChurchBox uses roles and permissions to manage users' access on a granular level.
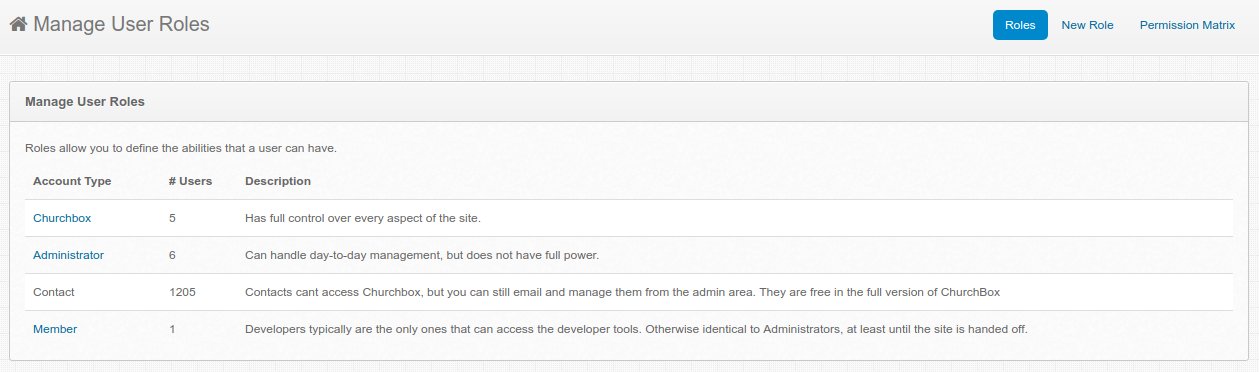
The default roles are:
You can create as many roles as you wish, using different permissions to grant and/or limit access to parts of your ChurchBox instance. For instance, you may want to create a role for members that can manage email communications for your Church. For this the role would need access to the Admin area and access to communicate module along with the basic permissions needed to view the frontend of ChuchBox.
This example will show you how to utilise these features to create a new role within the system, that of a 'Rota Manager' who has the same permissions as a regular user but also has access to the admin area of your ChurchBox instance, limited to the modules relating to rotas.
From the admin area, use the navigation at the top to go to 'Settings' -> 'Roles'. You'll see the screen below listing the current roles within the system.
Click on 'New Role' to bring up the create form.
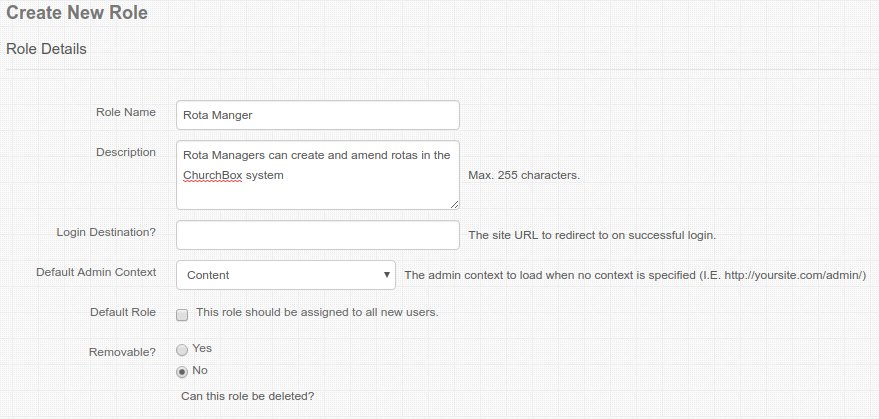
Add the Name and Description and check the 'No' for 'Removable'. Leave the 'Login Destination' and 'Default Role' as is.
Click on 'Save Role' at the bottom of the screen.

You'll now see your new role at the bottom of the 'Manage user roles' page. Now we'll need to grant this role its permissions. The easiest way to do this is using the permission matrix. Click on 'Permission Matrix' on the top right.

Here you can see a list of all of the permissions laid out by role.
The first thing you will need to do is to give the new 'Rota Manager' role the same permissions as a member, to enable them to use ChurchBox in the same way. To do this you'll need to check the same boxes in the 'Rota Manager' column that are checked in the 'Member' column.
The additional permissions needed for a 'Rota Manager' are as follows:
To access the Admin area they'll need:
To manage rotas within the Admin area they'll need:
And, if you would like your Rota Managers to also be able to manage groups:
All of the changes you make on this page are applied instantly.
When creating or editing a user you can assign them to this role. Use the 'switch to this user' feature to view ChurchBox as the user with the permissions in place.
Again, if this seems too daunting or complicated, Please contact us by phone or email (helpdesk@churchbox.co.uk). We can either walk you through the process or set up any new roles for you.
ChurchBox: Church Administration powered by Church123
ChurchBox © Copyright 2011 - 2024 | Contact Us