In order to create any rotas we need to first create a template. You can fill the template with the jobs required by the rota and then use the template to generate future rotas.
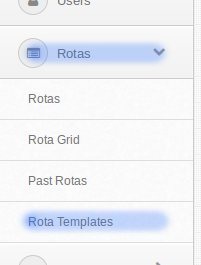
In the admin area, navigate to 'Rota Templates' by clicking 'Rota' -> 'Rota Templates'.
On this next page click on the green 'Add New Template' button at the bottom.
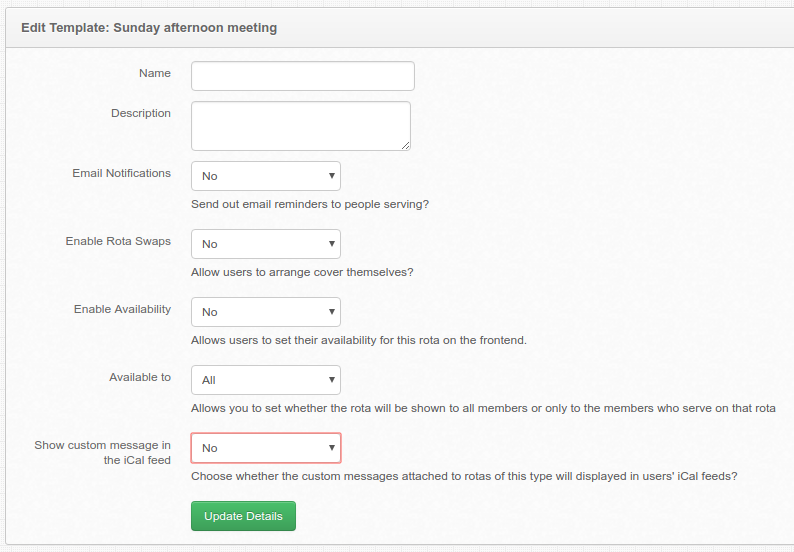
This next page will let you add the basic information for the template.
Click on 'Save New Template'
We now need to add some jobs to the template.
If you have already added some jobs they will appear here on the left and you can just click on the green 'Add' button to assign them to this template, they will appear on the right.
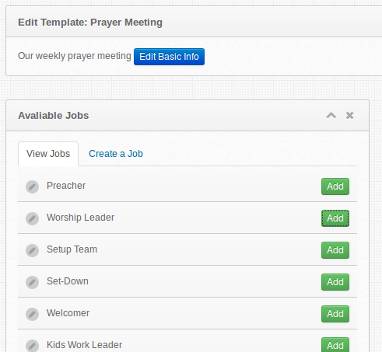
If you need to create a job to assign to the template click on the 'Create a Job' tab next to the 'View Jobs' tab.
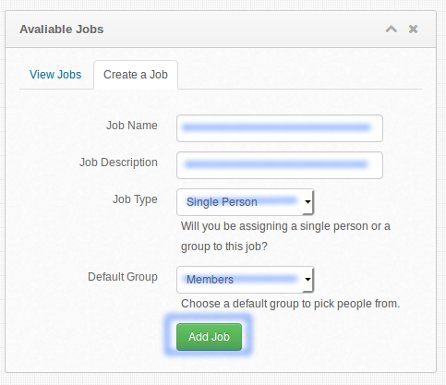
On this page you can add:
Click on 'Add Job' and the job will be added to the bottom of the list of available jobs.
You can now 'Add' it using the button next to it and it will appear in the list of assigned jobs on the right.
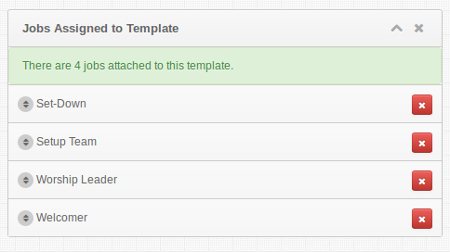
Repeat this process for as many jobs as you need to add to the rota.
On the list of assigned jobs you can drag and drop the jobs to rearrange their order and it will be saved automatically.
If you need to you can also remove them by clicking on the red 'x' (Just remember that if you delete one of the jobs, that all rotas using this template will be affected.)
Should you ever need to edit any part of the templates you've created, return to the Templates page by clicking on 'Rotas'->'Rota Templates' (or the 'Rota Templates' link on the top right) and click on the title of the template you with to edit.
You'll see the same screen you did before and this will let you change whatever you wish. The blue 'Edit Basic Info' button at the top of the page will let you change the title and description etc that we set in our first step earlier.
We've made our template and we've created, and assigned to it, the jobs that need filling. Now we need to make use of it by setting up a rota. Learn how to do that here.
ChurchBox: Church Administration powered by Church123
ChurchBox © Copyright 2011 - 2026 | Contact Us