The video above walks you through the process of managing rotas using the Rota Grid, you can also follow the instructions below.
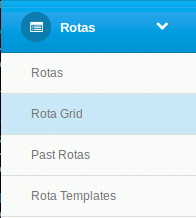
The Rota Grid quickly gives you a way of managing months worth of rotas, being able to see every week and every job. To view the Rota Grid, navigate to the Admin area and click on 'Rotas' -> 'Rota Grid' in the menu on the left.
On this page, select the 'Rota type' you'd like to display. You can also select the dates you'd like to view between. Clicking on 'Filter' will update the grid accordingly.
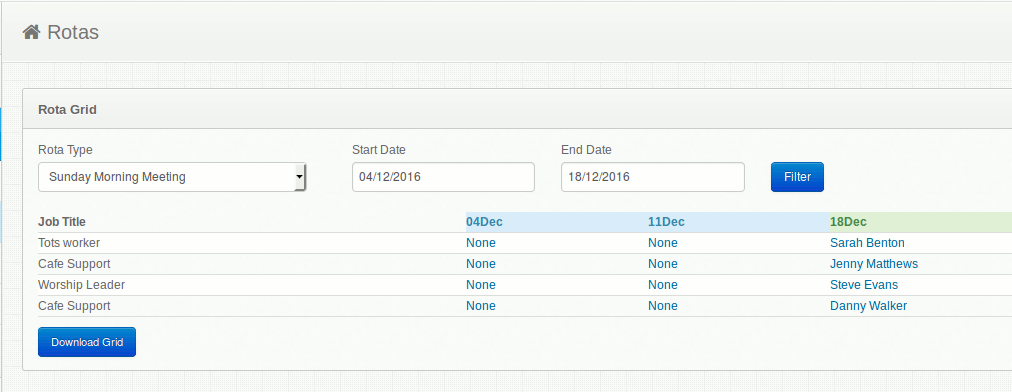
The grid shows you the jobs for the rota type on the left and then, week by week, which member has been assigned to this job. Clicking on one of the unassigned jobs, labeled as 'None' will open up a box that will let you select assign members to that job.

This box shows you the job details. You can select members for specific groups, or search all members by starting to type the member's name in the search box.The list of members is ordered in reverse order of when they last served. The member who served longest ago will be at the top.
Once you've assigned a member to the job the box will disappear and the change you made will be reflected in the grid.
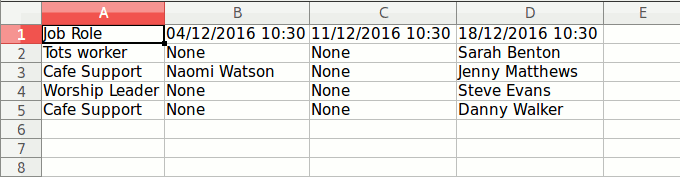
When you're happy with your rotas you also have the option of downloading the grid the using the blue 'Download grid' button at the bottom. This will save an Excel format spreadsheet of the grid between the dates you have selected
ChurchBox: Church Administration powered by Church123
ChurchBox © Copyright 2011 - 2026 | Contact Us